Business Tools: How to get started with ConvertKit for Email Automation
Welcome to this new series where I'll dive into the tools and services I use and have used in my business.
In this first post, I'll be looking at ConvertKit, which I use for email marketing automation.
When I started my business (which is a worrying 8 years ago now!), my knowledge of email marketing went no further than publishing a newsletter.
At the time, I set up a Mailchimp account, and (very) rarely published a newsletter with what I thought would be interesting information for the slowly growing number of subscribers.
As things got busier, though, the newsletter became less and less frequent, and when it was published, the open/read rates were low.
Discovering Email Marketing
Somewhere along the line, I'd heard about email marketing tools, but paid them little attention. I was already in Nathan Barry's audience as a customer of the Designing Web Applications book, and was loosely following his journey building ConvertKit.
About 2 years ago, tired of managing Mailchimp lists and emails, I decided to give other platforms a go. I quickly settled on ConvertKit. The simple web-based UI made building email sequences and forms really easy, and it integrated well with Gumroad, the e-commerce site I use to sell my digital books and courses.
If you're looking to start building an audience for your content, ConvertKit is an excellent choice. It provides enough power "out of the box" to build landing pages, forms, email courses and more.
The most difficult part of using ConvertKit (for me, at least) is knowing what content to write! Let's look at how you can get started building your audience and sharing your content.
Building a Simple Newsletter with ConvertKit
After signing up to ConvertKit (they offer a 14-day free trial), you'll be presented with the option to build Forms, Landing Pages and Sequences.
Forms are used to capture leads and emails on your website (e.g. signing up for a newsletter or special offer), whilst landing pages provide a fully-hosted web page on which you can add text and images to describe your service or offer.
The landing page includes an integrated form to capture leads, and ConvertKit have recently launched a new landing page editor and some great default theme templates.
Building a Newsletter Sign-up Page
Let's start by building a newsletter sign-up page. The latest release of ConvertKit provides a great template for us to do this.
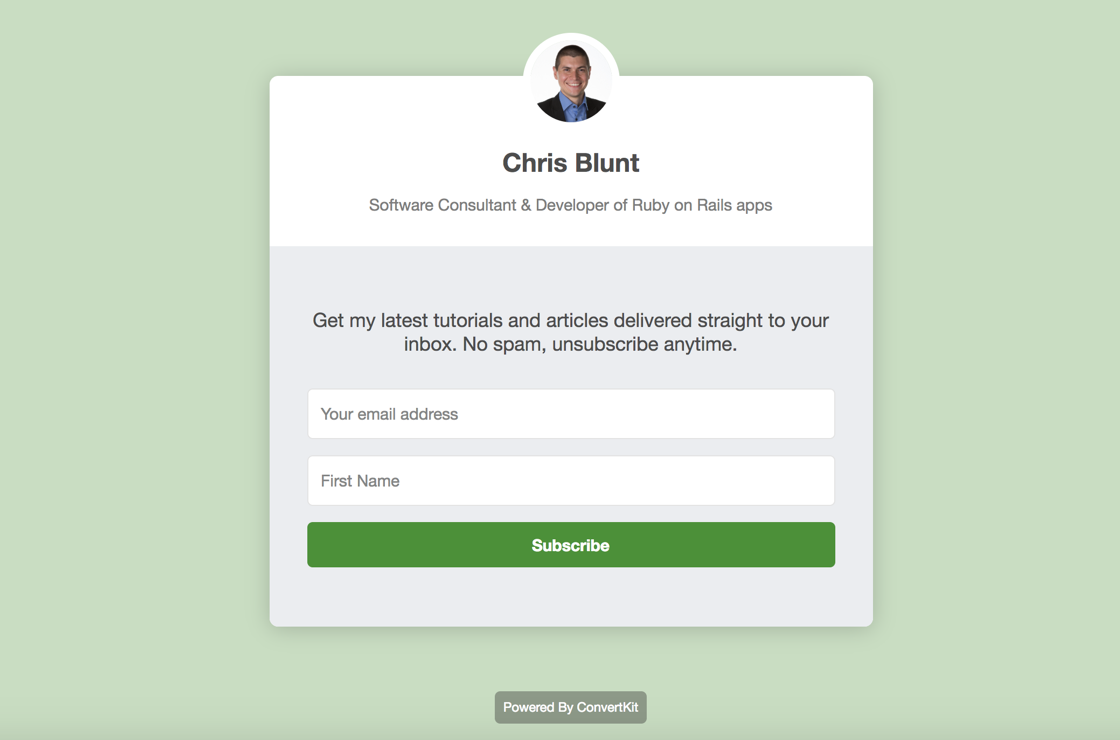
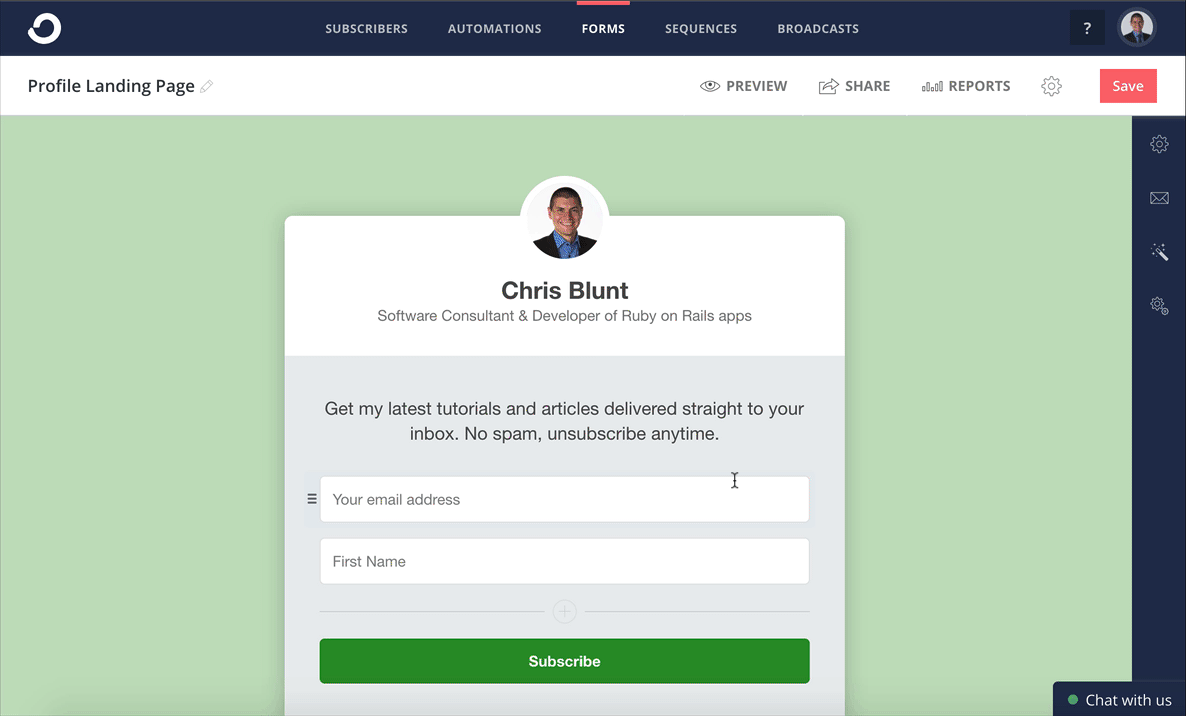
Here's an example of the landing page you'll build (see the original):
→ Click on Forms along the top of the screen, then Create Form
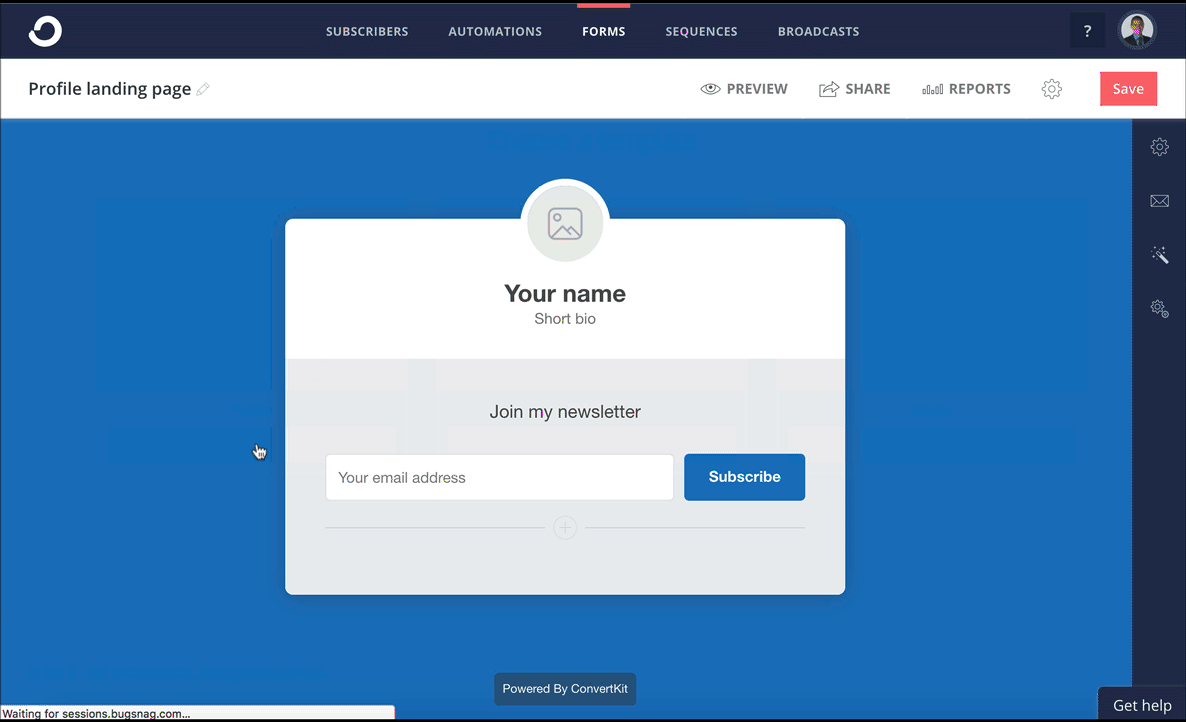
You'll be asked if you want to create a form or landing page. Let's build a complete landing page, which you can share to readers.

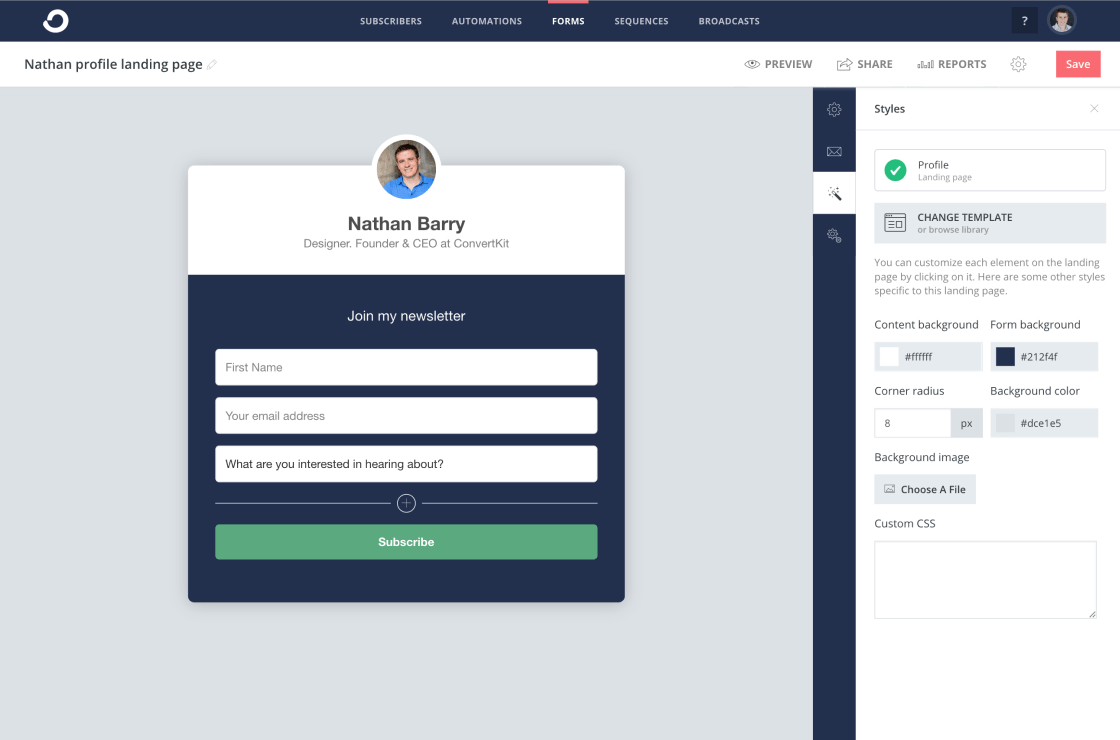
→ Click Landing Page, then choose the Profile Template
The Profile template is designed for a personal newsletter (although you tweak the content for anything, really).
The next screen you'll see is the page editor. You can click on the different elements to edit their content and colours. For example, click on Your name and change it to your own name.
→ Click on "Your Name" and replace the text with your own name.
You'll also see a sidebar open up, where you can edit the font style (colour, size, etc.) of the text.
Edit the other elements on the page until you're happy with the design. You can also click on the image selector to choose a profile image for your page.
→ Click on the "Magic Wand" icon to choose your own colour scheme
The styles panel allows you change various colours on your page. You can also change the colour of the Subscribe button by clicking on it.
→ Click the envelope icon to configure your double opt-in / incentive email.
The incentive email panel allows you to customise (and enable/disable) the double opt-in verification email that your subscribers receive when signing up to your newsletter.
For compliance with GDPR for EU citizens, I recommend you always enable a double opt-in email. ConvertKit also has GDPR options which you can manage in your account settings
In this screen, ConvertKit also allows you to upload an incentive attachment that will be downloaded automatically when the subscriber verifies their email address.
Connecting Your Form to a Sequence
Once you've built your landing page, the next step is to connect it to an email sequence. Sequences are chains of emails that are delivered to your subscribers on a timed basis. They are great for building evergreen newsletters, and also simple email courses.
Let's start by building a welcome email for our sequence.
→ Click Sequences, then Create Sequence
ConvertKit will ask you to name your sequence. We'll call it Newsletter for now (you can always change this later).

→ Write an introductory email
The ConvertKit email editor is simple yet powerful. It let's you create great looking emails without having to worry about coding HTML or advanced templates.
ConvertKit's emails are designed to be read, so they look more like personal written emails than traditional, graphics-heavy newsletters you might be familiar with.
→ Set sending options
Finally, we need to mark our email as published by changing it's status in the drop-down menu. As this is a welcome email, we should also make sure it delivers immediately to subscribers once they have confirmed their email address.
To do this, click the after 1 day setting under When to Send, and enter 0 into the field. This will remove any delay before the email is sent.
Putting Everything Together
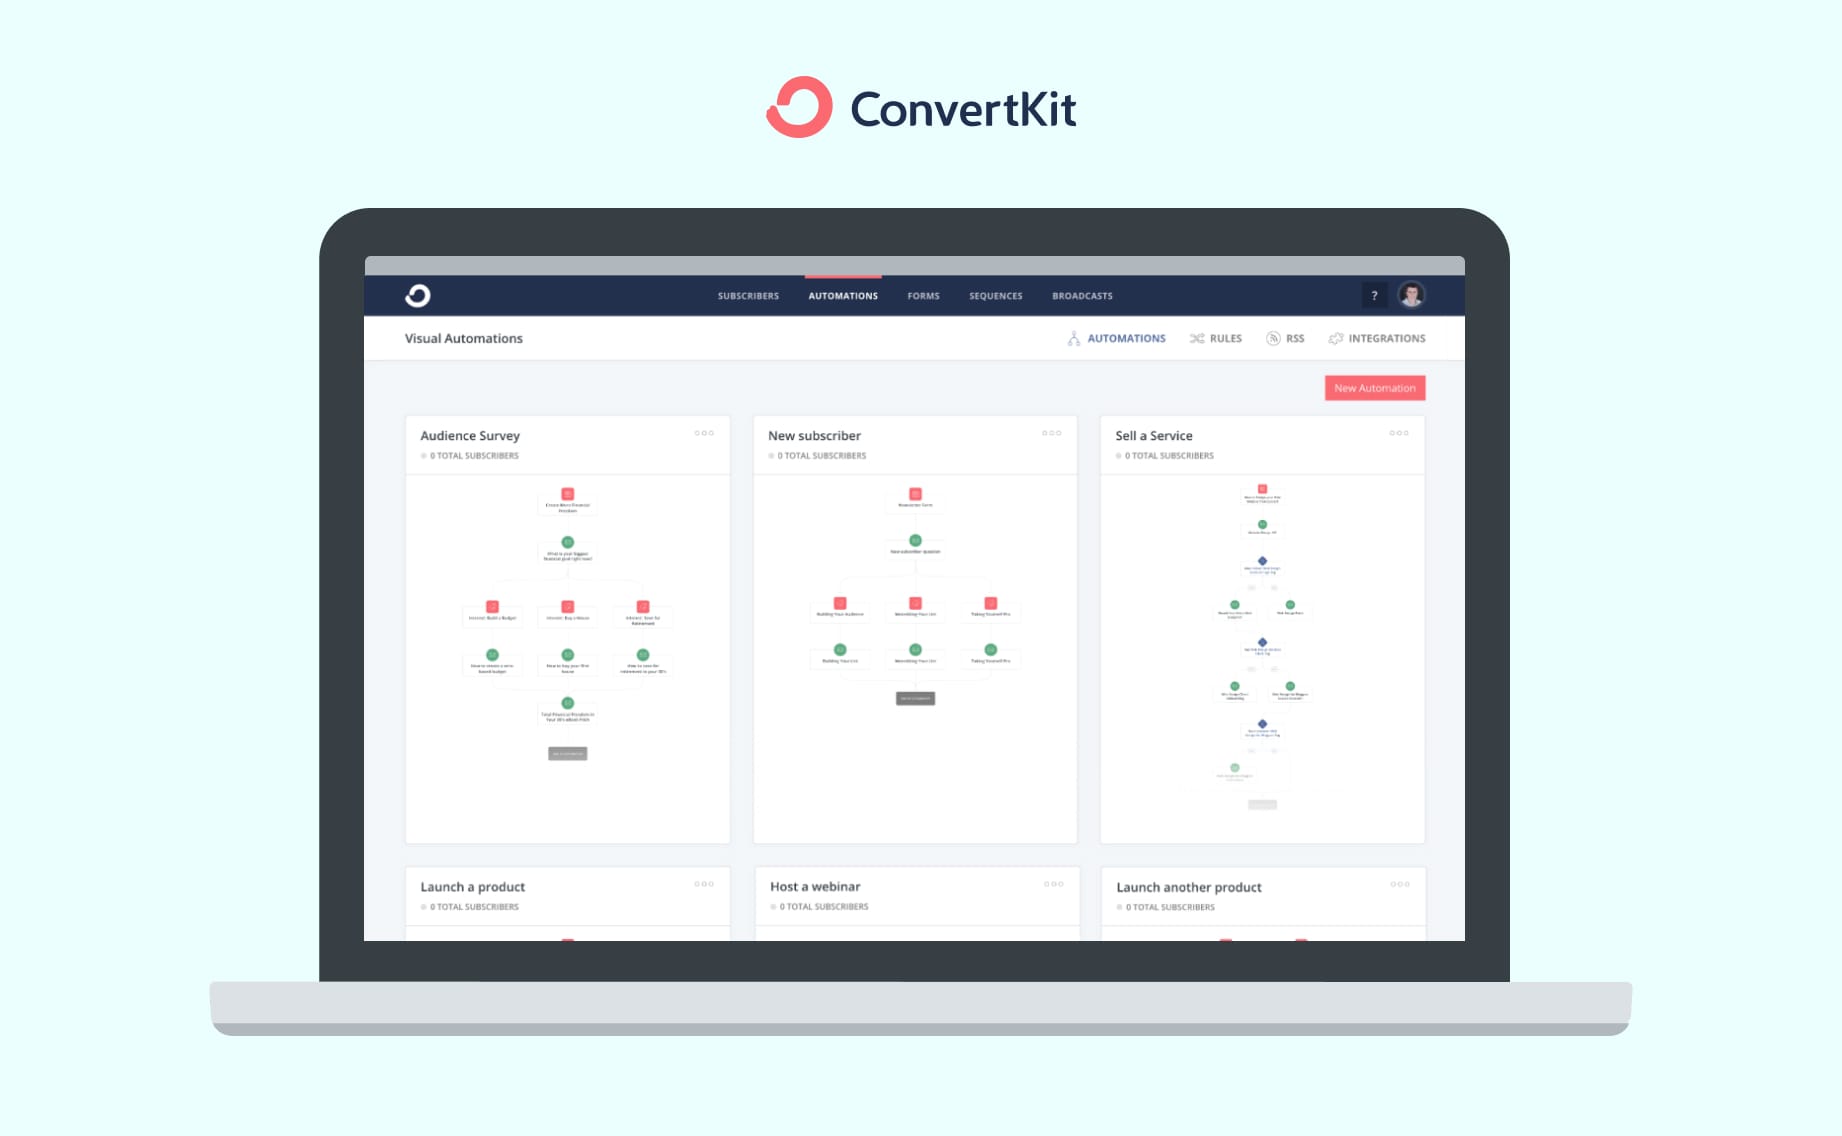
ConvertKit offers a couple of ways to connect forms and sequences: Rules and Automations. Automations allow us to design an advanced flow-chart style set of rules for our subscribers to follow.
I'll cover automations in a future post. For now, though, we'll use a simple rule to connect our form to the sequence, so that when somebody subscribes to our form, the rule automatically subscribes them to our sequence.
Rules are a great way to build If this happens, then do that conditions.
→ Click Automations, Rules, then Add Rule
ConvertKit presents "Triggers" on the left and "Actions" on the right. When a trigger occurs, the corresponding Action(s) will run.
→ Click the Subscribes to a Form trigger
In the drop-down list that appears, choose the Profile landing page you created before.
→ Click the Subscribe to a Sequence action
In the drop-down list, choose the Newsletter sequence.
→ Click Save Rule to create the rule.
ConvertKit will now show your rule, along with a green Enabled light to show that rule will process when the trigger occurs.
Your Newsletter is Ready!
That's it! Your newsletter is now ready to go! You can try out your new rule by signing up to your landing page - just open the link that ConvertKit generates for your landing page, and enter your email address.
After confirming your subscription, you'll receive your new Welcome email!
Next up...
I hope you've found this guide helpful. To get started with ConvertKit, click here to sign up and start your 14-day free trial.
In upcoming posts, I'll look at some of the more advanced techniques I've learned when using ConvertKit, including how to build more complex automation flows.
As part of this Business Tools series, I'll explore some of the other systems I use in the day-to-day running of my business.
Let me know your thoughts and comments by tweeting me @cblunt or getting in touch via email.
👋 Thanks for reading - I hope you enjoyed this post. If you find it helpful and want to support further writing and tutorials like this one, please consider supporting my work with a coffee!
Support ☕️